Demystifying Normal Maps in GIMP: Enhancing Textures and Detail in Your Digital Creations
Related Articles: Demystifying Normal Maps in GIMP: Enhancing Textures and Detail in Your Digital Creations
Introduction
In this auspicious occasion, we are delighted to delve into the intriguing topic related to Demystifying Normal Maps in GIMP: Enhancing Textures and Detail in Your Digital Creations. Let’s weave interesting information and offer fresh perspectives to the readers.
Table of Content
Demystifying Normal Maps in GIMP: Enhancing Textures and Detail in Your Digital Creations
In the realm of digital art and 3D modeling, the pursuit of realism often hinges on the ability to render intricate surface details. While traditional techniques like painting or sculpting can achieve remarkable results, they can be time-consuming and resource-intensive. This is where normal maps emerge as a powerful tool, offering a streamlined approach to imbuing digital surfaces with depth, texture, and visual complexity.
Understanding the Essence of Normal Maps
A normal map is essentially a grayscale image that encodes surface normals, which are vectors perpendicular to a surface at each point. These vectors provide information about the direction of light reflection, enabling the rendering engine to simulate the interplay of light and shadow, creating the illusion of bumps, grooves, and other surface irregularities.
The Mechanics of Normal Maps in GIMP
GIMP, a versatile open-source image editor, offers a range of tools for creating and manipulating normal maps. While GIMP’s native functionality doesn’t directly generate normal maps, it provides a robust environment for leveraging third-party plugins and techniques to achieve this.
Generating Normal Maps in GIMP
The process of creating a normal map in GIMP often involves the following steps:
-
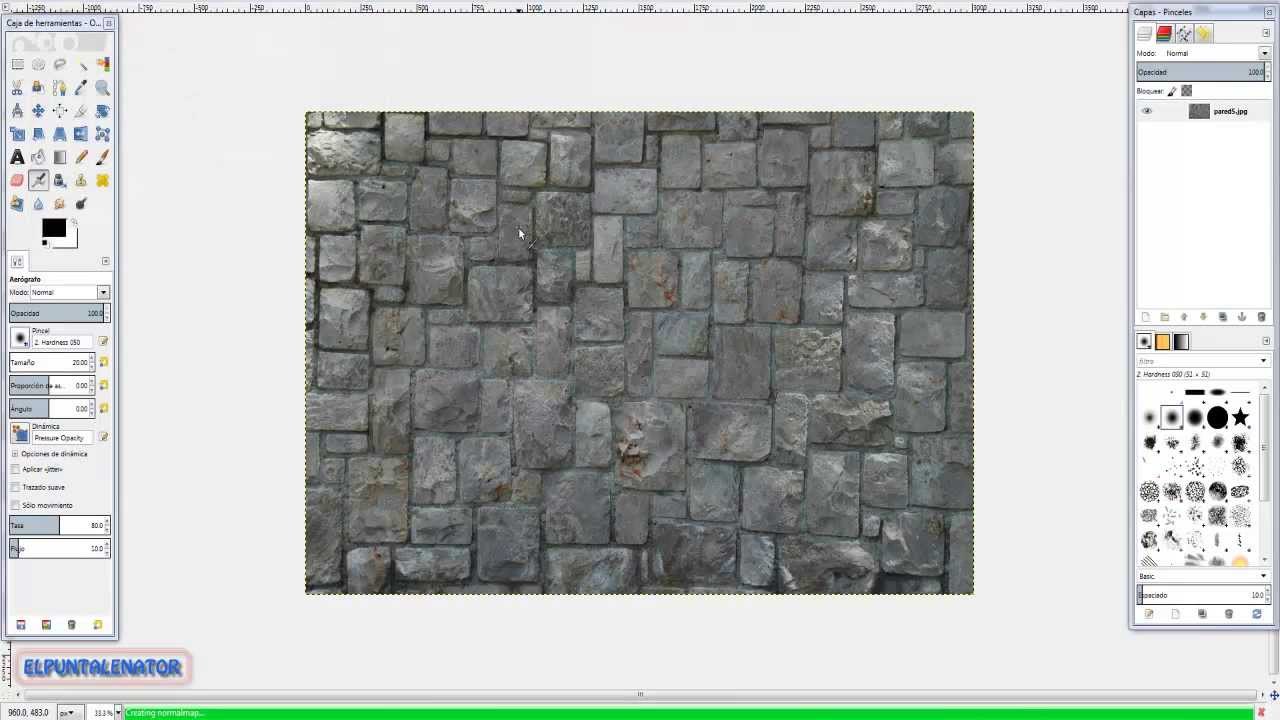
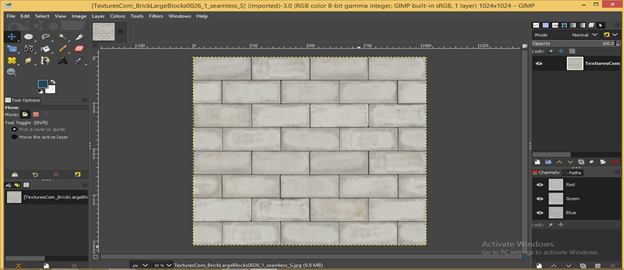
Source Image Preparation: Begin with a grayscale image representing the desired surface detail. This image can be a photograph, a hand-drawn sketch, or even a 3D model’s heightmap. Ensure the image has a clear contrast between the high and low areas, as this will translate into the normal map’s information.
-
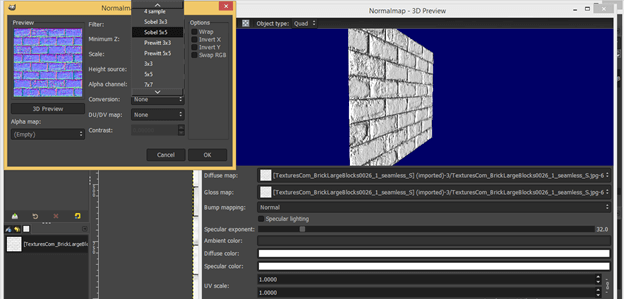
Plugin Integration: Several GIMP plugins are specifically designed for normal map generation. Popular options include:
-
Normal Map Generator: This plugin offers a straightforward interface for converting grayscale images into normal maps. It allows adjusting parameters like the map’s strength and smoothing levels.
-
Normal Map: This plugin provides more advanced controls, enabling users to fine-tune the normal map’s appearance based on the specific surface details.
-
-
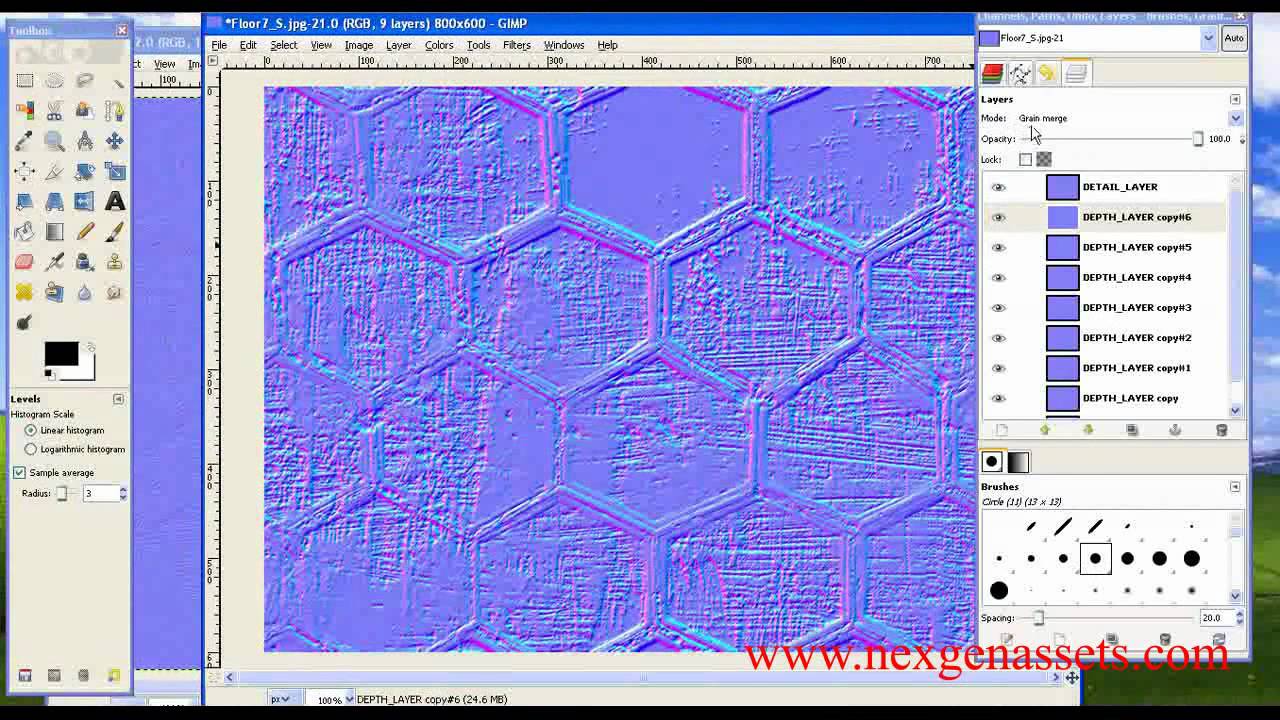
Manual Creation: While plugins simplify the process, skilled artists can also create normal maps manually using GIMP’s tools. This involves meticulously painting the surface normals, often using a combination of brushes, gradients, and layer effects.
Applying Normal Maps in GIMP
Once the normal map is generated, it can be applied to a 3D model or 2D image using various methods:
-
External Software Integration: For 3D models, normal maps are typically applied within 3D modeling software like Blender or Maya. These programs leverage the normal map information to simulate surface details during rendering.
-
GIMP’s Layer Modes: In GIMP, normal maps can be applied as layers using blending modes like "Multiply" or "Overlay." This technique overlays the normal map’s information onto the base image, creating the illusion of surface detail.
Benefits of Using Normal Maps
Normal maps offer a multitude of advantages for digital artists and 3D modelers:
-
Enhanced Realism: They introduce a sense of depth and texture to surfaces, making them appear more realistic and engaging.
-
Improved Efficiency: Normal maps are significantly more efficient than traditional methods like sculpting or painting every detail. They allow artists to achieve complex surface details with minimal effort.
-
Artistic Flexibility: Normal maps can be easily adjusted and manipulated, offering greater creative control over the final rendering.
-
Reduced File Size: Compared to high-resolution textures, normal maps are typically much smaller, reducing file sizes and improving rendering performance.
FAQs: Normal Maps in GIMP
Q: What are the most common uses of normal maps in GIMP?
A: Normal maps are primarily used to enhance the visual fidelity of 2D and 3D images. In 2D, they can add texture to objects, create the illusion of depth, and enrich the overall visual experience. In 3D, they are essential for simulating surface details, creating realistic lighting effects, and reducing the need for high-resolution textures.
Q: Can I use normal maps to create realistic skin textures in GIMP?
A: Yes, normal maps can be used to simulate the subtle bumps and pores of human skin, adding a layer of realism to character models or portraits. However, achieving highly realistic skin textures often requires a combination of normal maps, displacement maps, and other techniques.
Q: Are there any limitations to using normal maps in GIMP?
A: While normal maps are a powerful tool, they do have limitations. They are primarily effective for simulating surface details that are relatively small compared to the overall object. Large-scale features or complex geometry may require more advanced techniques.
Q: Can I create a normal map from a photo in GIMP?
A: Yes, you can use a photo as the source image for creating a normal map in GIMP. However, the success of this process depends on the photo’s clarity, contrast, and the desired level of detail.
Tips for Using Normal Maps in GIMP
-
Experiment with different plugins and techniques: Explore various normal map generation plugins and manual creation methods to find the approach that best suits your needs and artistic style.
-
Adjust the normal map’s strength: The strength of the normal map determines how pronounced the surface details will appear. Experiment with different settings to achieve the desired level of realism.
-
Use a combination of techniques: Combining normal maps with other techniques like displacement maps or bump maps can create even more intricate and realistic surface details.
-
Optimize the normal map’s resolution: A higher-resolution normal map will provide greater detail but also increase file size and processing time. Find the balance between detail and efficiency based on your project’s requirements.
Conclusion
Normal maps are a valuable tool for digital artists and 3D modelers, offering a streamlined approach to adding depth, texture, and visual complexity to their creations. GIMP, with its versatile features and plugin support, provides a conducive environment for creating and manipulating normal maps, empowering users to enhance their digital artwork and push the boundaries of visual realism. By understanding the principles behind normal maps and exploring the various techniques available in GIMP, artists can unlock a new dimension of creative possibilities, enriching their digital creations with captivating detail and visual depth.


Closure
Thus, we hope this article has provided valuable insights into Demystifying Normal Maps in GIMP: Enhancing Textures and Detail in Your Digital Creations. We thank you for taking the time to read this article. See you in our next article!